
MODEL ROCKETS
Building a model rocket can be fun but there are a few steps you
must go through in order to have a successful rocket, and I’m going to help you
with this process.
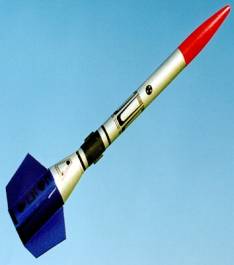
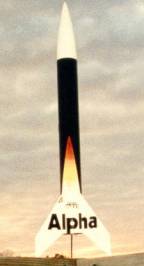
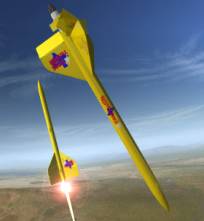
STEP 1: Choosing a design
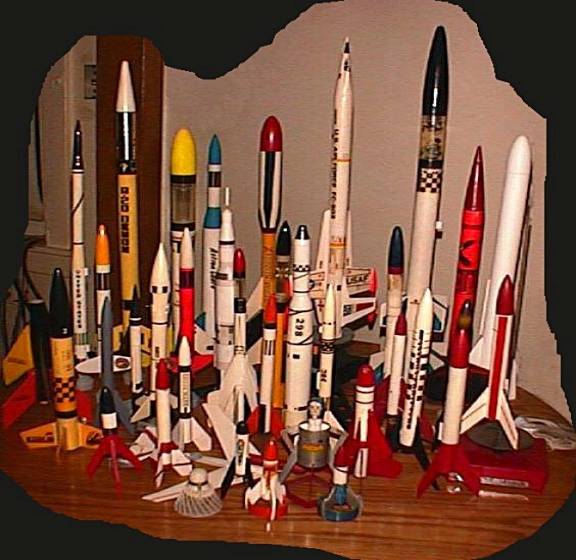
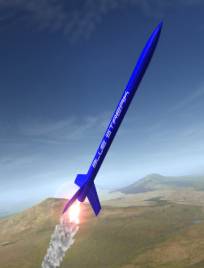
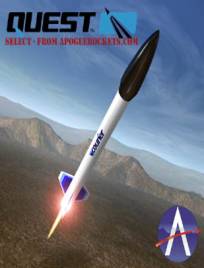
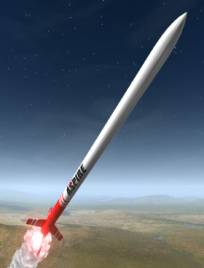
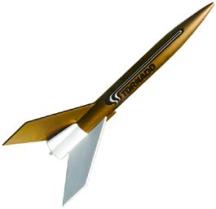
The first step you must take is deciding what design you want to use for your rocket. There is a practically endless number of designs you can choose from. Here are a few:
|
|
|
|
|
|
|
|
|
|
|
|


STEP 2: Construction
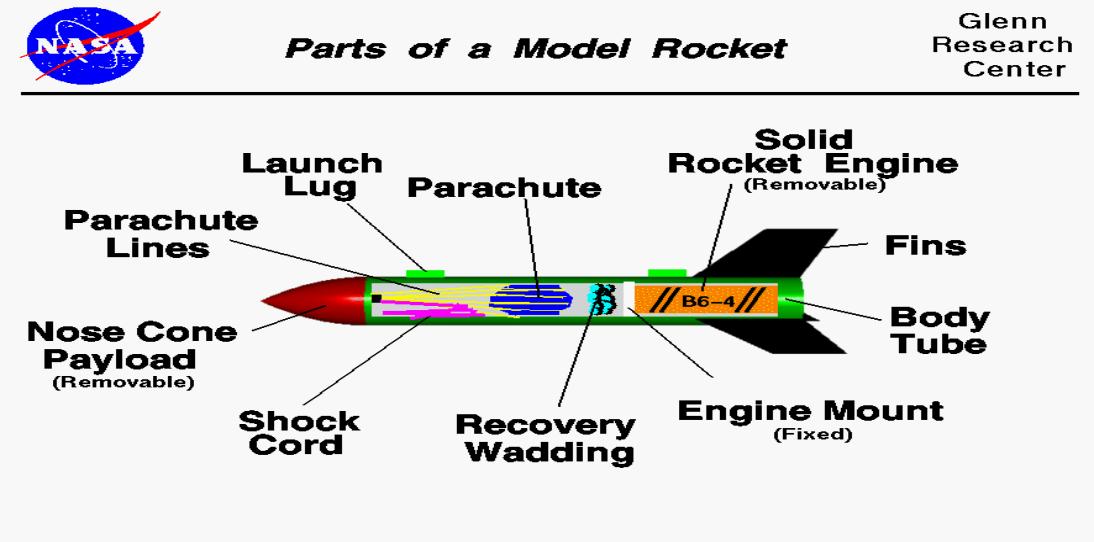
After you’ve decided which design you want then you have to make
sure you construct it properly. Below
is a diagram of how to properly assemble your rocket once you have a design.
You need to be very careful and use extreme precision when
constructing your rocket because carelessness can lead to major problems. Be sure to attach your fins firmly, evenly
spaced, and straight. Also, you need to
attach the launch lug in the proper place (between the fins) and it needs to be
straight. When packing the contents
into the rocket, try not to disperse the contents unevenly to one side or the
other because this can cause instability in flight.
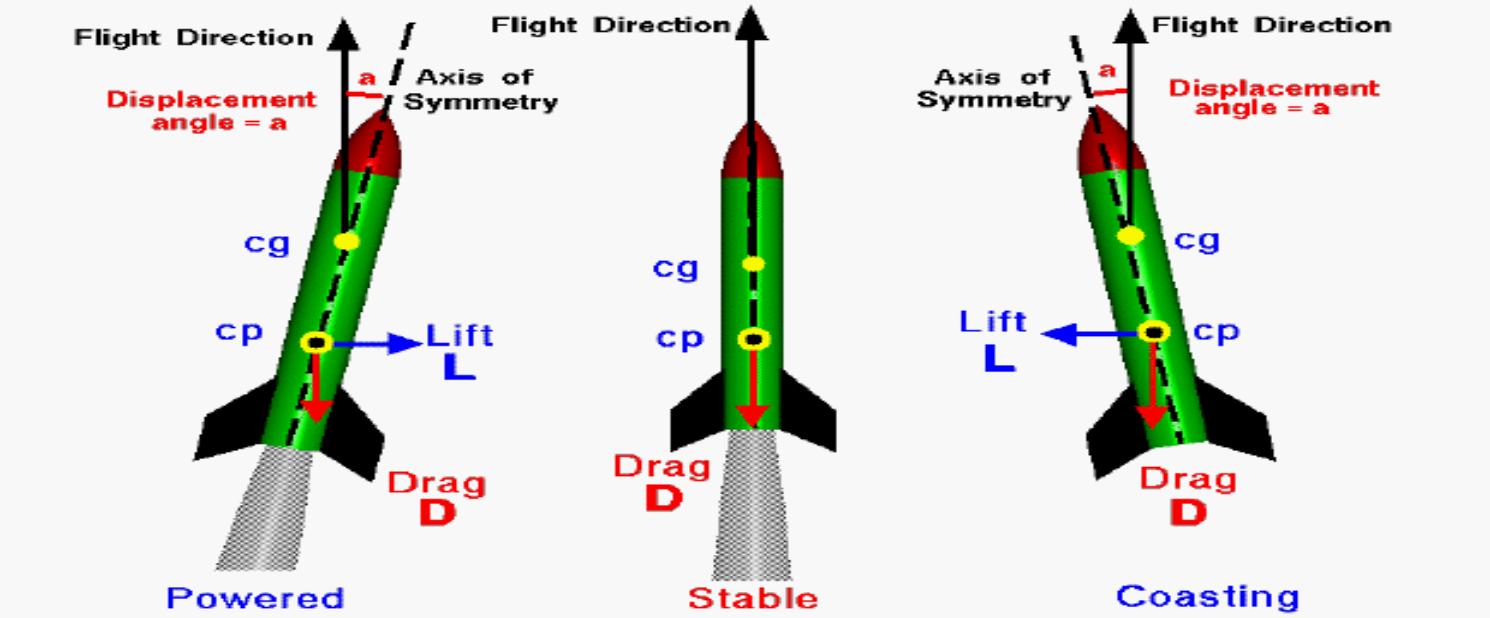
STEP 3: Stability
Once you have assembled your rocket, you need to make sure it is
stable. If it is unstable then the
rocket could perform poorly and even be dangerous.
You can determine the stability by finding the center of gravity for
the rocket, tying a string at the center of gravity, and whirling the rocket in
a circle over your head. If the rocket
spins smoothly, it is adequately stable and is ready for flight. If it does not smoothly swing then you need
to adjust the rocket in order to make it more stable. You can make it more stable by re-aligning the fins and making
sure they're straight and evenly spaced.
You may also want to try re-packing and positioning the contents inside
the rocket so the weight is distributed better.
Now that your rocket is ready, the real fun begins.
STEP 4: The launch
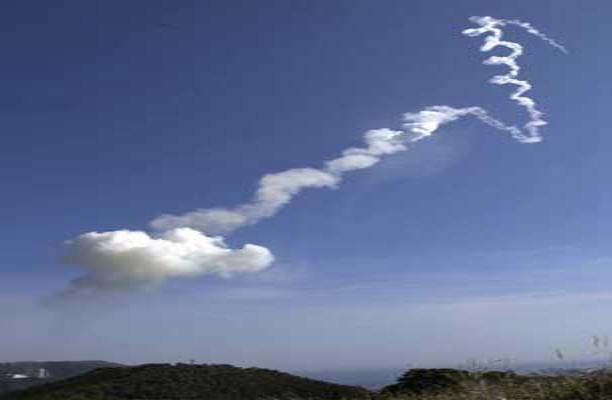
The launch is the best part of rocketeering because you get to enjoy
watching all your hard work finally pay off. You need to be sure to pick a good location. A large, flat, treeless field is best but
any secluded open area will work. Make
sure that there are no people nearby that are unaware of what you're doing and
keep yourself, and others, a safe distance away from the launch pad. After you're set up then you're ready to
watch your
creation go to work. If you
did all of your planning and construction properly your launch should be a
sight to enjoy.
Ok, you've had your fun and now it's time to actually do some work
because I know your teacher is going to make you.
STEP 5: Analysis
Due to my experience, I know that your teacher is going to make you
analyze acceleration, velocity, and other parts of physics for the rocket you
just finished launching. Don't worry,
it's not that hard. Below is an example
of a velocity vs. time graph for a
rocket that was launched with a parachute.
When a
model rocket is launched, the propellant burns for several seconds,
accelerating the rocket upward. After burnout, the rocket coasts upward
for while longer and then begins to fall. An explosive charge pops out
the parachute shortly after the rocket starts down. The parachute slows
the rocket to keep it from breaking when it lands. This chain of events causes the data to give you a graph like the
one shown above.
This
page created by Colin Roe in order to help future physics students go through
the process of designing, building, launching, and analyzing data for a model
rocket. If you have any questions or
comments send them to: C_ROE@fayar.net or
DYOUNG@fayar.net
Links:
For an in depth history of rockets check out:
http://www.grc.nasa.gov/WWW/K-12/TRC/Rockets/history_of_rockets.html
http://www.grc.nasa.gov/WWW/K-12/airplane/bgmr.html
http://members.aol.com/djadamson9/models.html
http://yellowjacketsystems.com/alway/modroc.htm
http://tentwentyone.com/rockets.shtml